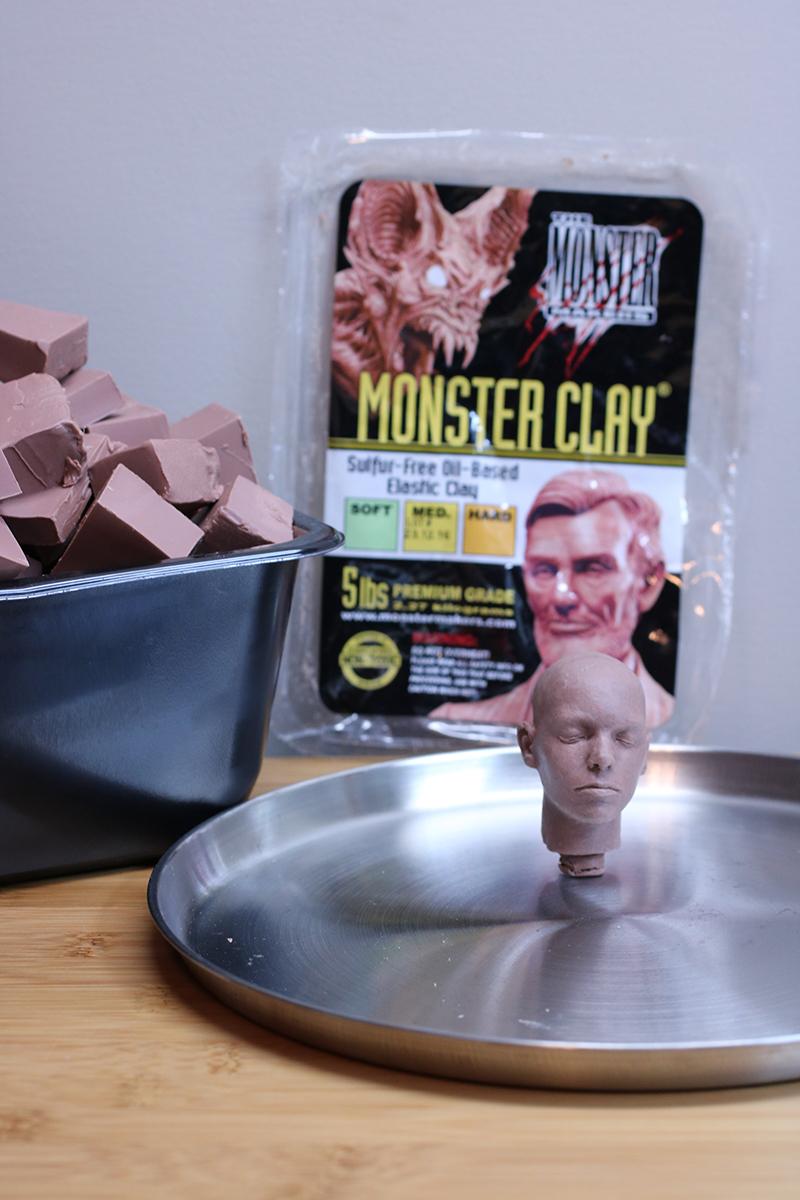
Monster Clay - Medium (hardness)
Creating a Mold:
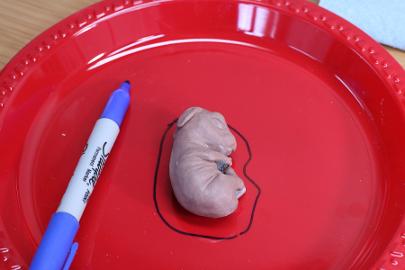
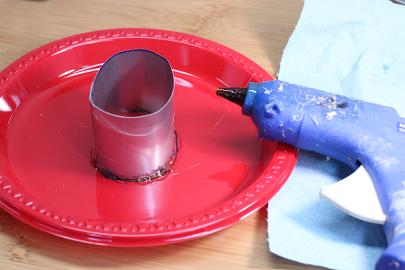
I use Sharpie to draw a line around the form, then cut aluminum flashing into an appropriate size and form a wall shape. Use duct tape or packing tape to secure the flashing to itself. The flashing can be formed to create a precise shape in order to maximize the silicone and reused for more molds. I attach the wall to the plate with hot glue.
You can also use a cup or container to create walls for the mold, or clay slabs to build walls around the piece. I test the flashing with water before pouring the silicone to make sure there are no leaks and determine quantity of mold material.
Place the clay on top of a piece of silicone to suspend the form in the mold. Small pieces can move or float when the silicone is poured, so I use two sewing pins and glue them to the bottom of the plate. I push the clay down onyo the pins to make it hover in space. The clay can be adjusted on the pins and it will secure the form. Measure the precise middle of the form with a ruler. I draw a line in thin Sharpie to mark the middle of the piece. and on the wall of the mold. I use this measurement when cutting forms apart.
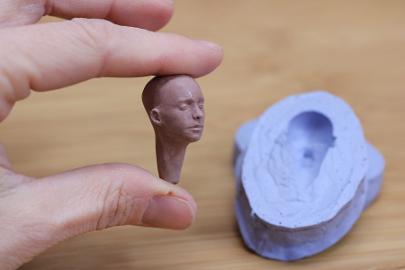
Use an X-acto knife to cut the mold into two sections. This requires careful measuring and can be tricky. You can also make the mold in two parts, but that can also be difficult with small forms. I press clay into the hollows of the mold and let it firm up. Make sure to press the deeper sections of the mold first with smaller pieces of clay, then add a larger piece of clay over the top. The clay will merge with pressure and you can clean up the form after de-molding.
I remove the halves and put them together with typical hand building techniques. I always hollow out my forms as much as possible to keep them light. The pieces will shrink with firing.
- Use Monster Clay (med) for detailed forms
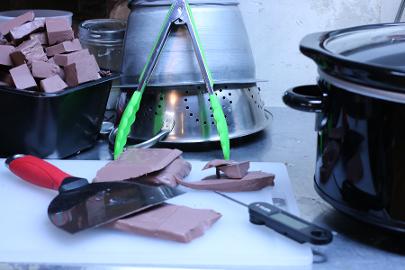
- A crock pot of water works well to soften clay and chop the block into usable pieces
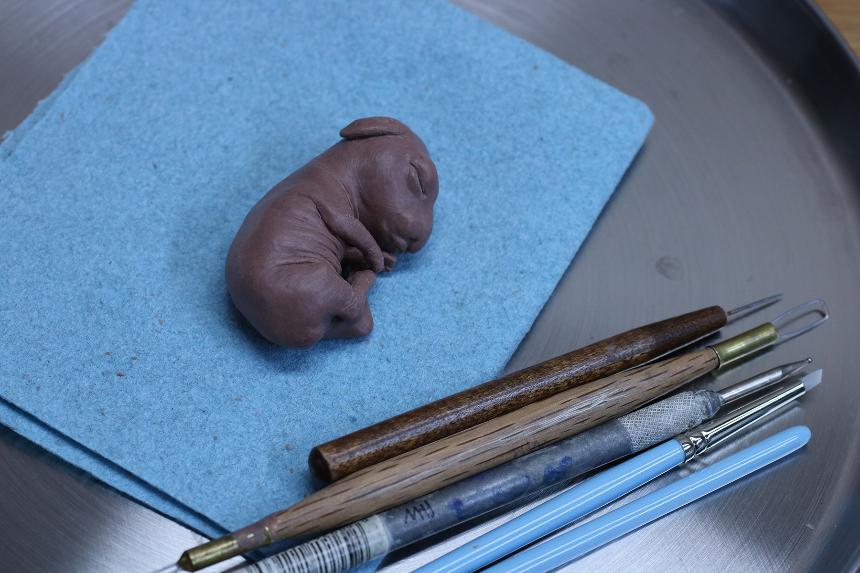
- Tools: Needle, small loop, stylus, clay pusher
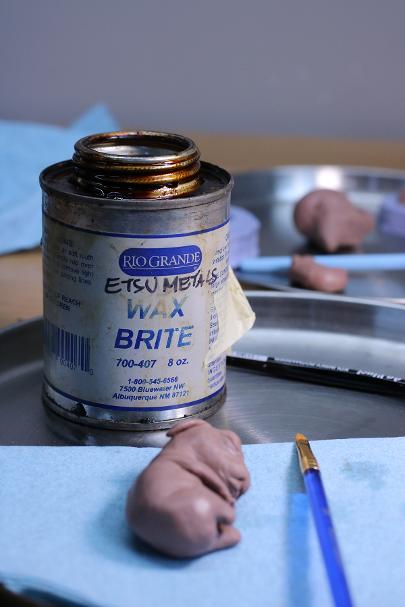
- Use Wax Brite and a brush to refine surfaces
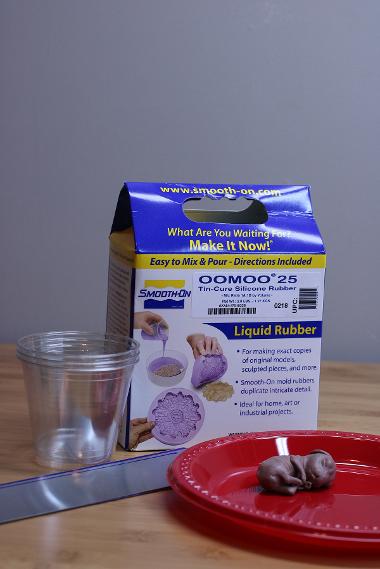
- Use silicone such as Oomoo25 to create a mold (1 or 2 parts)
- Press clay (Laguna 550 porcelain) into molds
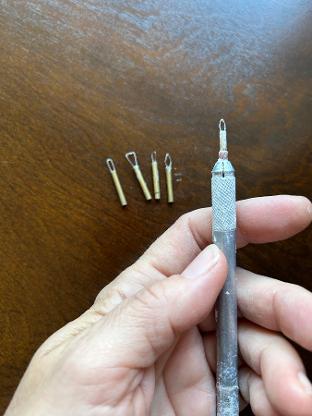
- Make micro-loop tools out of acupuncture needles (.3 X 50mm) and the Excel Blades Burnisher set tool
- All porcelain forms are hollowed out as thin as possible
Tools
I make loop tools from acupuncture needles and metal tubing. I shape and trim the needles, then glue the ends into copper or brass tubes with Super Glue Gel. The needle size is .30 X 50mm.
The tubing is 3/32" and fits nicely into the Excel Burnisher Set tool. You can make many different shapes and sizes of loop tools.
You can also drill into an X-acto knife holder with drill bits and make your own holder for the tubing. Start with small bits and build up to arger sizes.
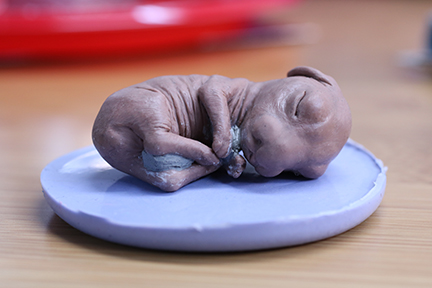
To make a mold, some areas of the form must be filled in. I used water based clay on this piece. You can also use oil based clay, but make sure it is softer than the form. Kids craft clay is good for this purpose. Forms can be placed on a side to make the seam run along the middle.
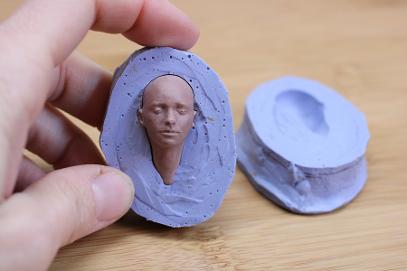
The bubbles in the silicone formed because the product is old. It still worked and the area of the form is clean. This type of silicone can tear easily, so be careful when cutting. Many people prefer MoldMax instead of OOmoo due to the tearing, but measuring must be more precise with this product.

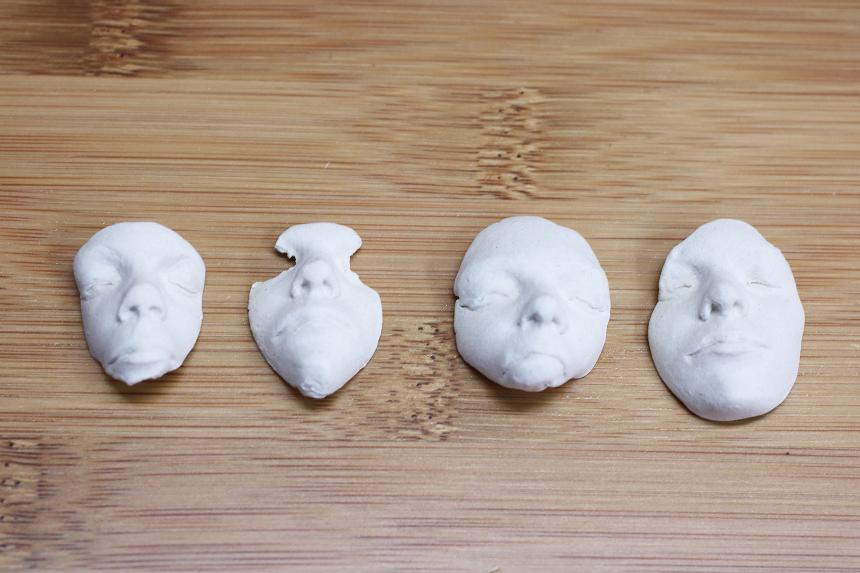
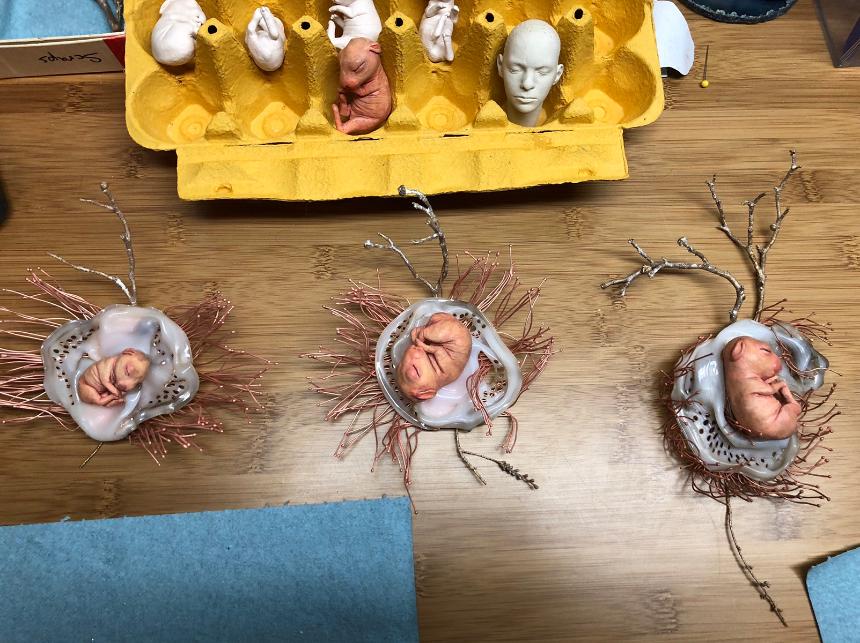
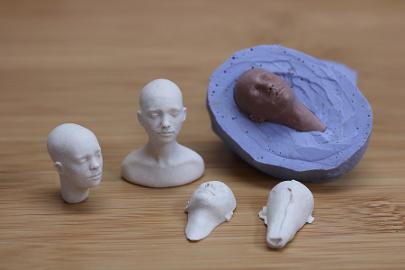
Porcelain can be pressed into the molds in many ways, and undercuts are not an issue. The same form can be used and manipulated to produce different results. The legs of the rabbits below were repositioned after casting to make each one unique. I use this method to alter faces and reposition the fingers of hands to create different hand gestures.
I recommend working on more than one piece at a time. Small forms dry very quickly and need to be hydrated repeatedly.